¿Necesitas un lijado de precisión sin dañar superficies delicadas? Descubre las ventajas del disco de espuma estándar...
}Kitchens, bathrooms and public spaces such as restaurants, hotels, hospitals, airports, etc.… integrate different types of construction and decorative materials.
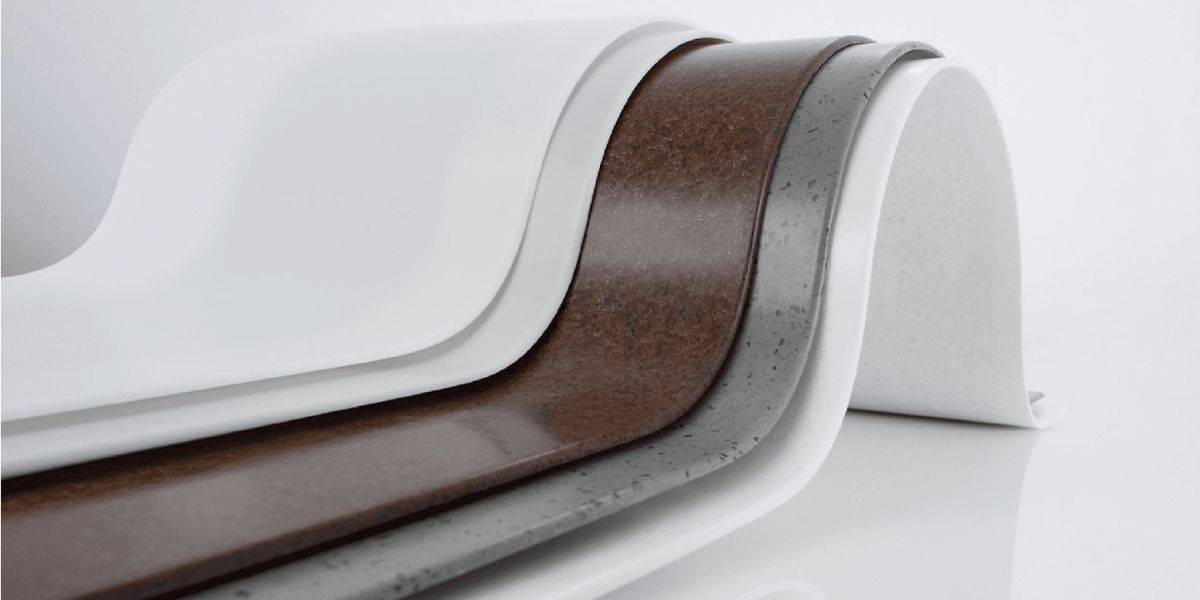
Currently, one of the materials that stands out the most from the rest is the solid surface, which provides a total solution to carry out unique, innovative interior design designs with risky shapes.
This material not only stands out for giving free rein to the designer but also because it can be given the surface finish desired by the user.
The surface finish then becomes a decisive element for companies.
Types of surface finishes in the solid surface
At the surface level, the solid surface is a material that can be easily treated. The surface of this compound can be sanded to give it roughness and it can also be refined and polished to achieve the desired level of shine according to the needs of each project.
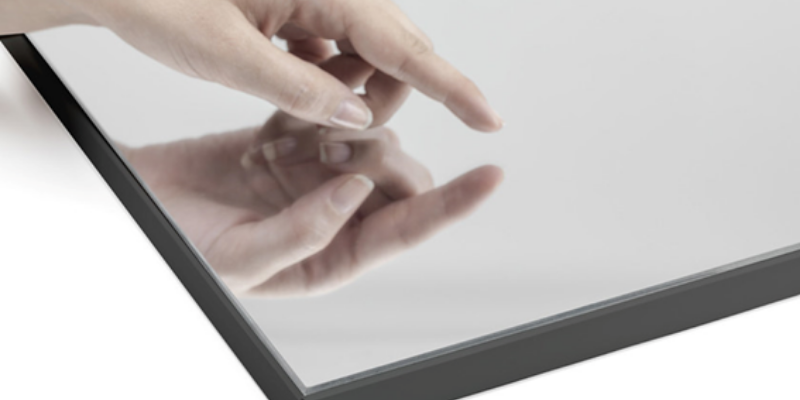
Rough surfaces reflect light in a scattered way in several directions, while shiny surfaces reflect light in the same direction. According to the level of reflection of the light, we classify the surfaces in:
Matt surfaces: gloss level <10%
Satin surfaces: gloss level <30%
Glossy surfaces: gloss level <50%
High gloss surfaces: gloss level <90%
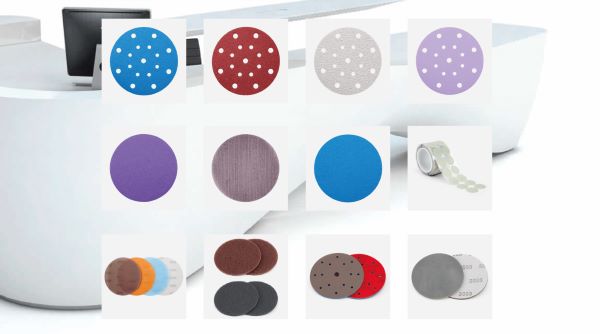
Sanding is the key on solid surface surfaces.
Achieving one degree or another of surface finish is determined by the sanding process.
MATTE surface finish covers surface imperfections and can be easily touched up. On the contrary, as it has a high roughness, it retains dirt and is difficult to clean, since scrubbing can remove the finish.
The SATIN finish, having a silky touch and a slight shine, resists washing well. On the contrary, it does not hide surface imperfections and touch-ups stand out.
Lastly, the GLOSSY finish requires additional prep work to create a smooth surface, making it more durable and moisture resistant so it can be scrubbed away. On the contrary, it shows imperfections and is very difficult to touch up as different areas of shine are generated.
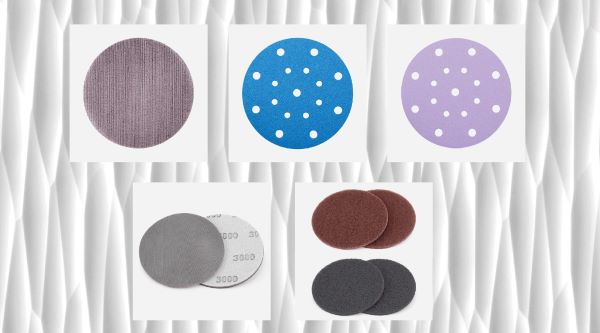
How to tone, satin or polish a solid surface.
The size of the grains to be used, the sequence or jump between them and the type of abrasive used are factors to consider during the smoothing and refining process.
It is recommended to start with a P120 grain disc if the initial surface to be treated has marks and scratches that we have to remove. On the contrary, if the initial state is good we can do it with a P180 grain disc.
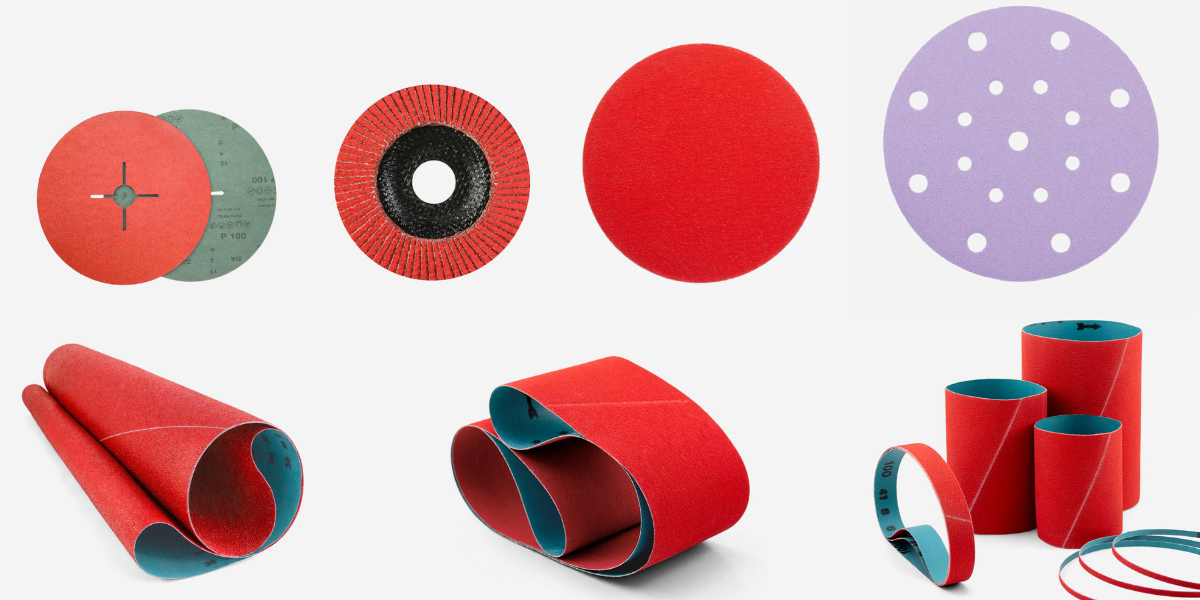
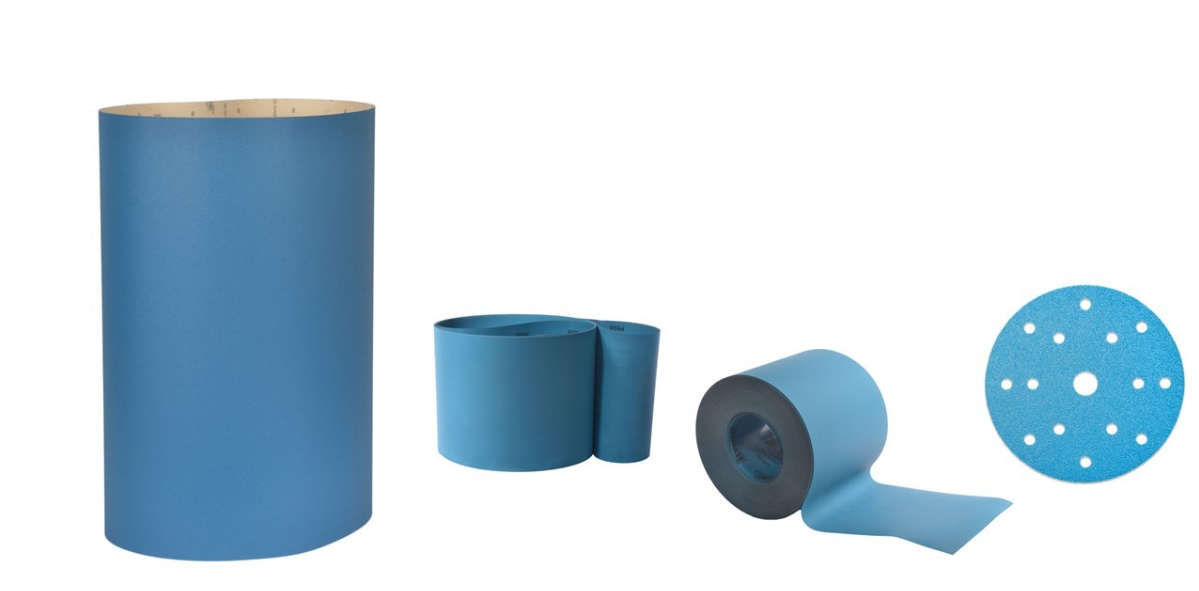
To smooth the surface and create the necessary roughness, in the first stages of sanding, we will use sanding discs with a backing of: mesh, polyester film or paper. At this stage, the discs must allow a free suction of the sanding dust, thus preventing the surface of the abrasive disc from quickly clogging and creating marks on the surface.
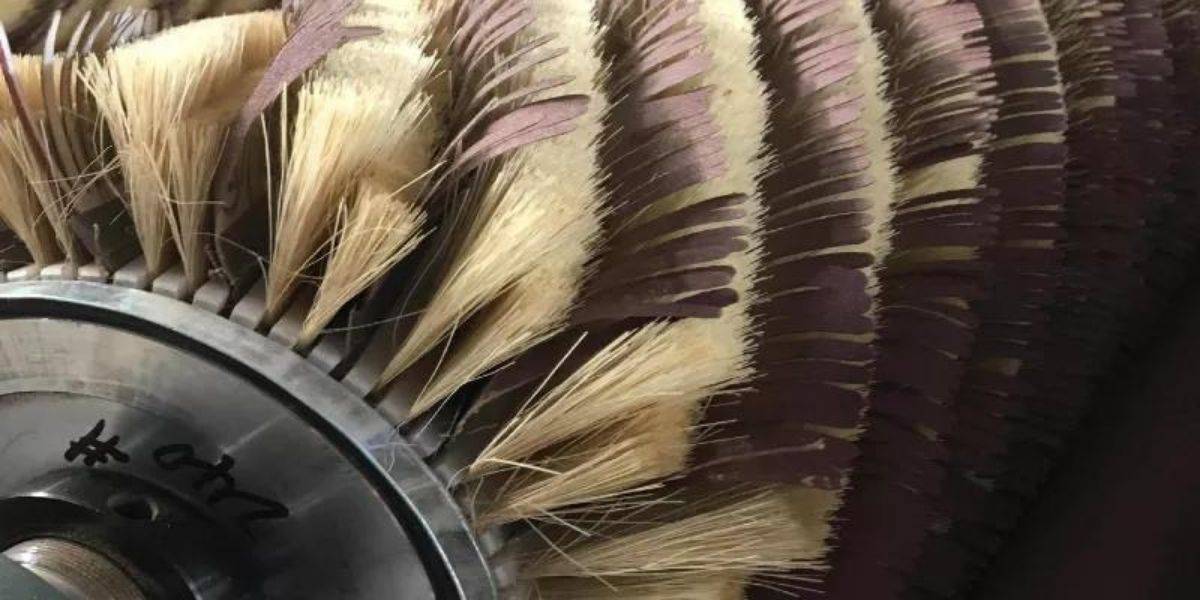
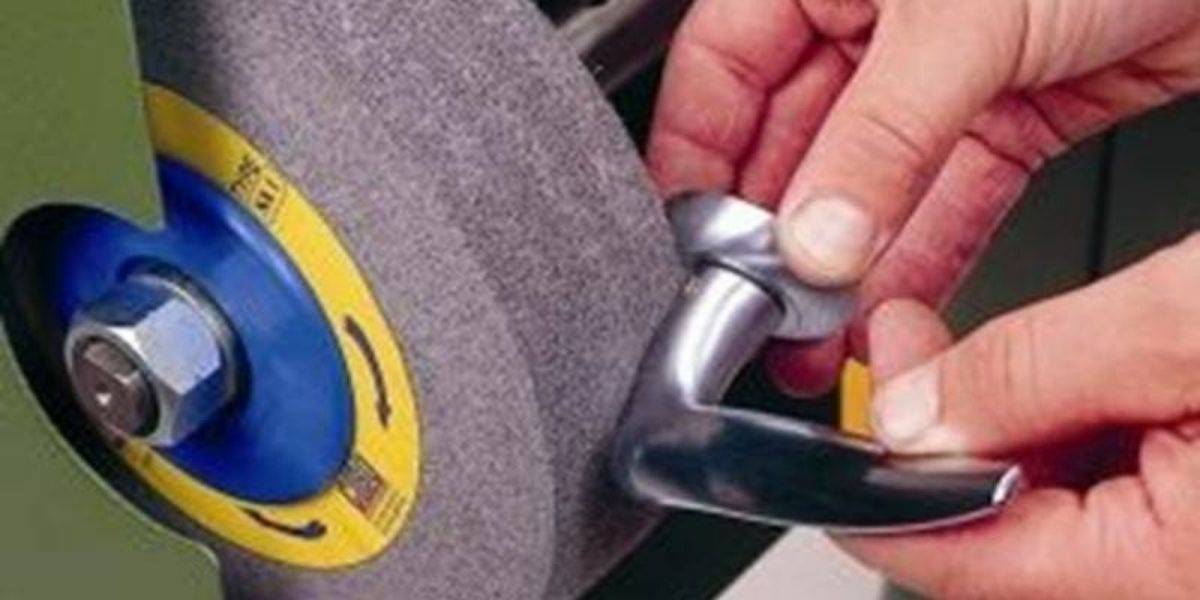
In the final stages, we will use abrasive discs with sponge support or with non-woven fiber support (scotch type), which refine the surface providing smoothness and uniformity.
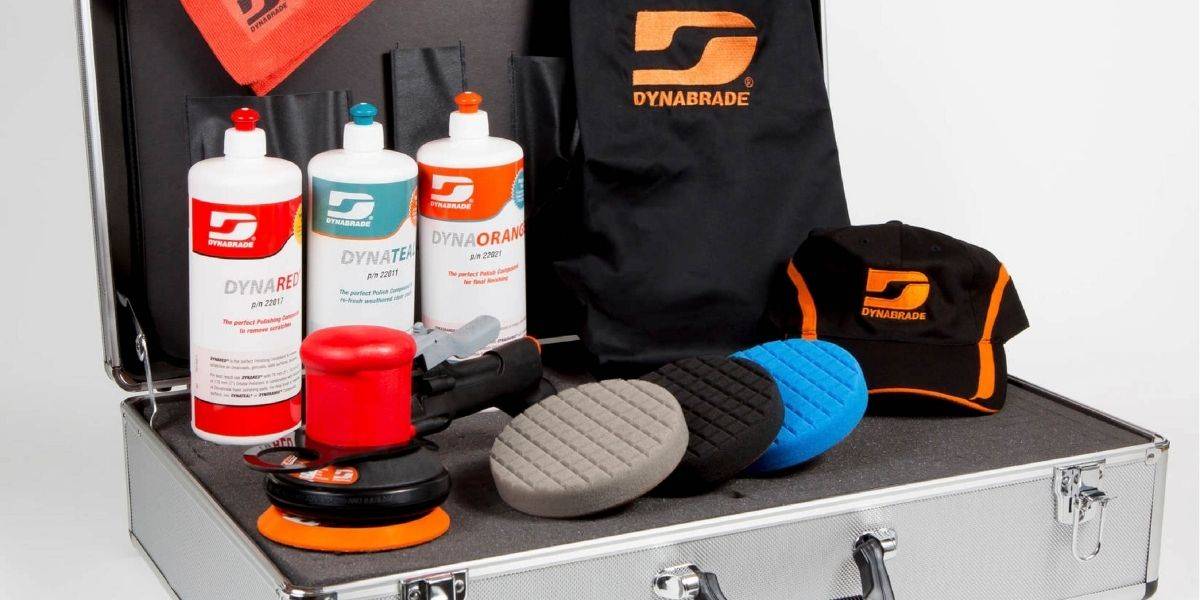
Finally, on high-gloss surfaces, we will use a liquid abrasive paste for final polishing.
We can summarize that in matt and satin finishes during the sanding process we smooth the surface and give it a slight refinement. However, in glossy finishes, the initial smoothing of the surface is followed by an intense refining process and this, in turn, is accompanied by a final polishing operation for high-gloss surfaces.
Matte finish:
Smoothing: P120 - P180 - P320
Tuned: P360 (sponge or non-woven fiber backing)
Satin finish:
Smoothing: P120 - P180 - P320
Tuned: P500 (sponge or non-woven fiber backing)
Glossy finish:
Smoothing: P120 - P180 - P320
Tuned: P360 - P500 - P1000 -P4000 (sponge or non-woven fiber backing)
High gloss finish:
Smoothing: P120 - P180 - P320
Tuned: P360 - P500 - P1000 - P4000 (sponge or non-woven fiber backing)
Polished: Abrasive paste
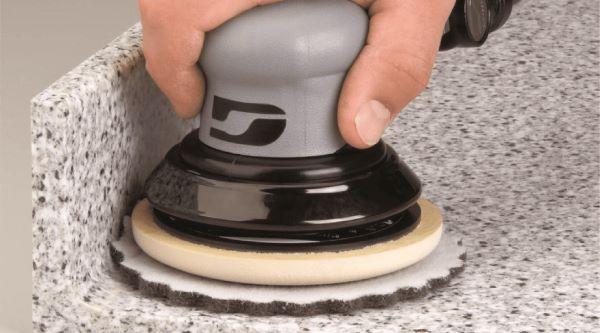
Solid surface sanding technique
Knowing the sanding technique is essential to achieve efficient and quality work. Here are a series of easy-to-follow recommendations that will help you get the most out of the sanding process:
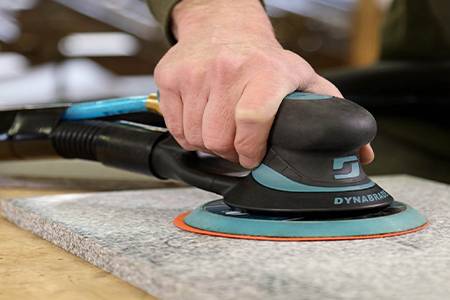
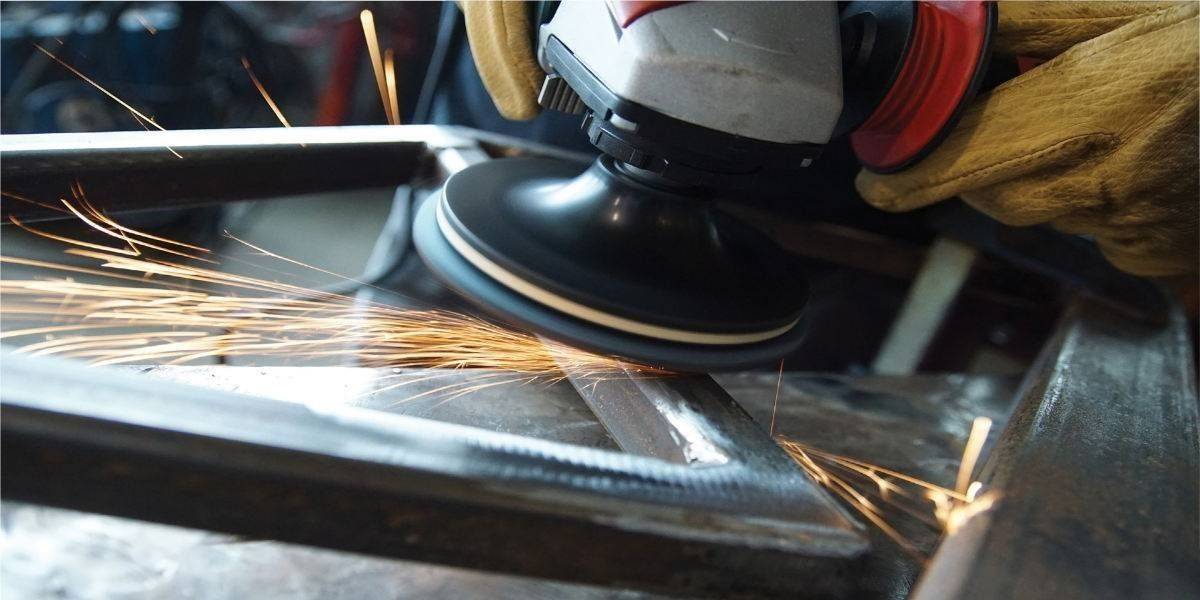
Always keep the sanding plate parallel to the surface, avoiding sanding with the edge of the plate.
Operate the sander once it is resting on the surface to be sanded, and turn it off once it has been removed from the surface.
Clean the sanded surface with a microfiber cloth at each stage of the process. Sanding dust deposited on the part is an abrasive particle that can cause unexpected scratches.
It is recommended that the sanding movement be first from north to south and then from east to west.
Overlap the passes a quarter of the diameter of the plate to ensure that the initial scratches are eliminated.
Do not apply excessive pressure on the machine, just enough pressure to be able to hold it and move it over the work area.
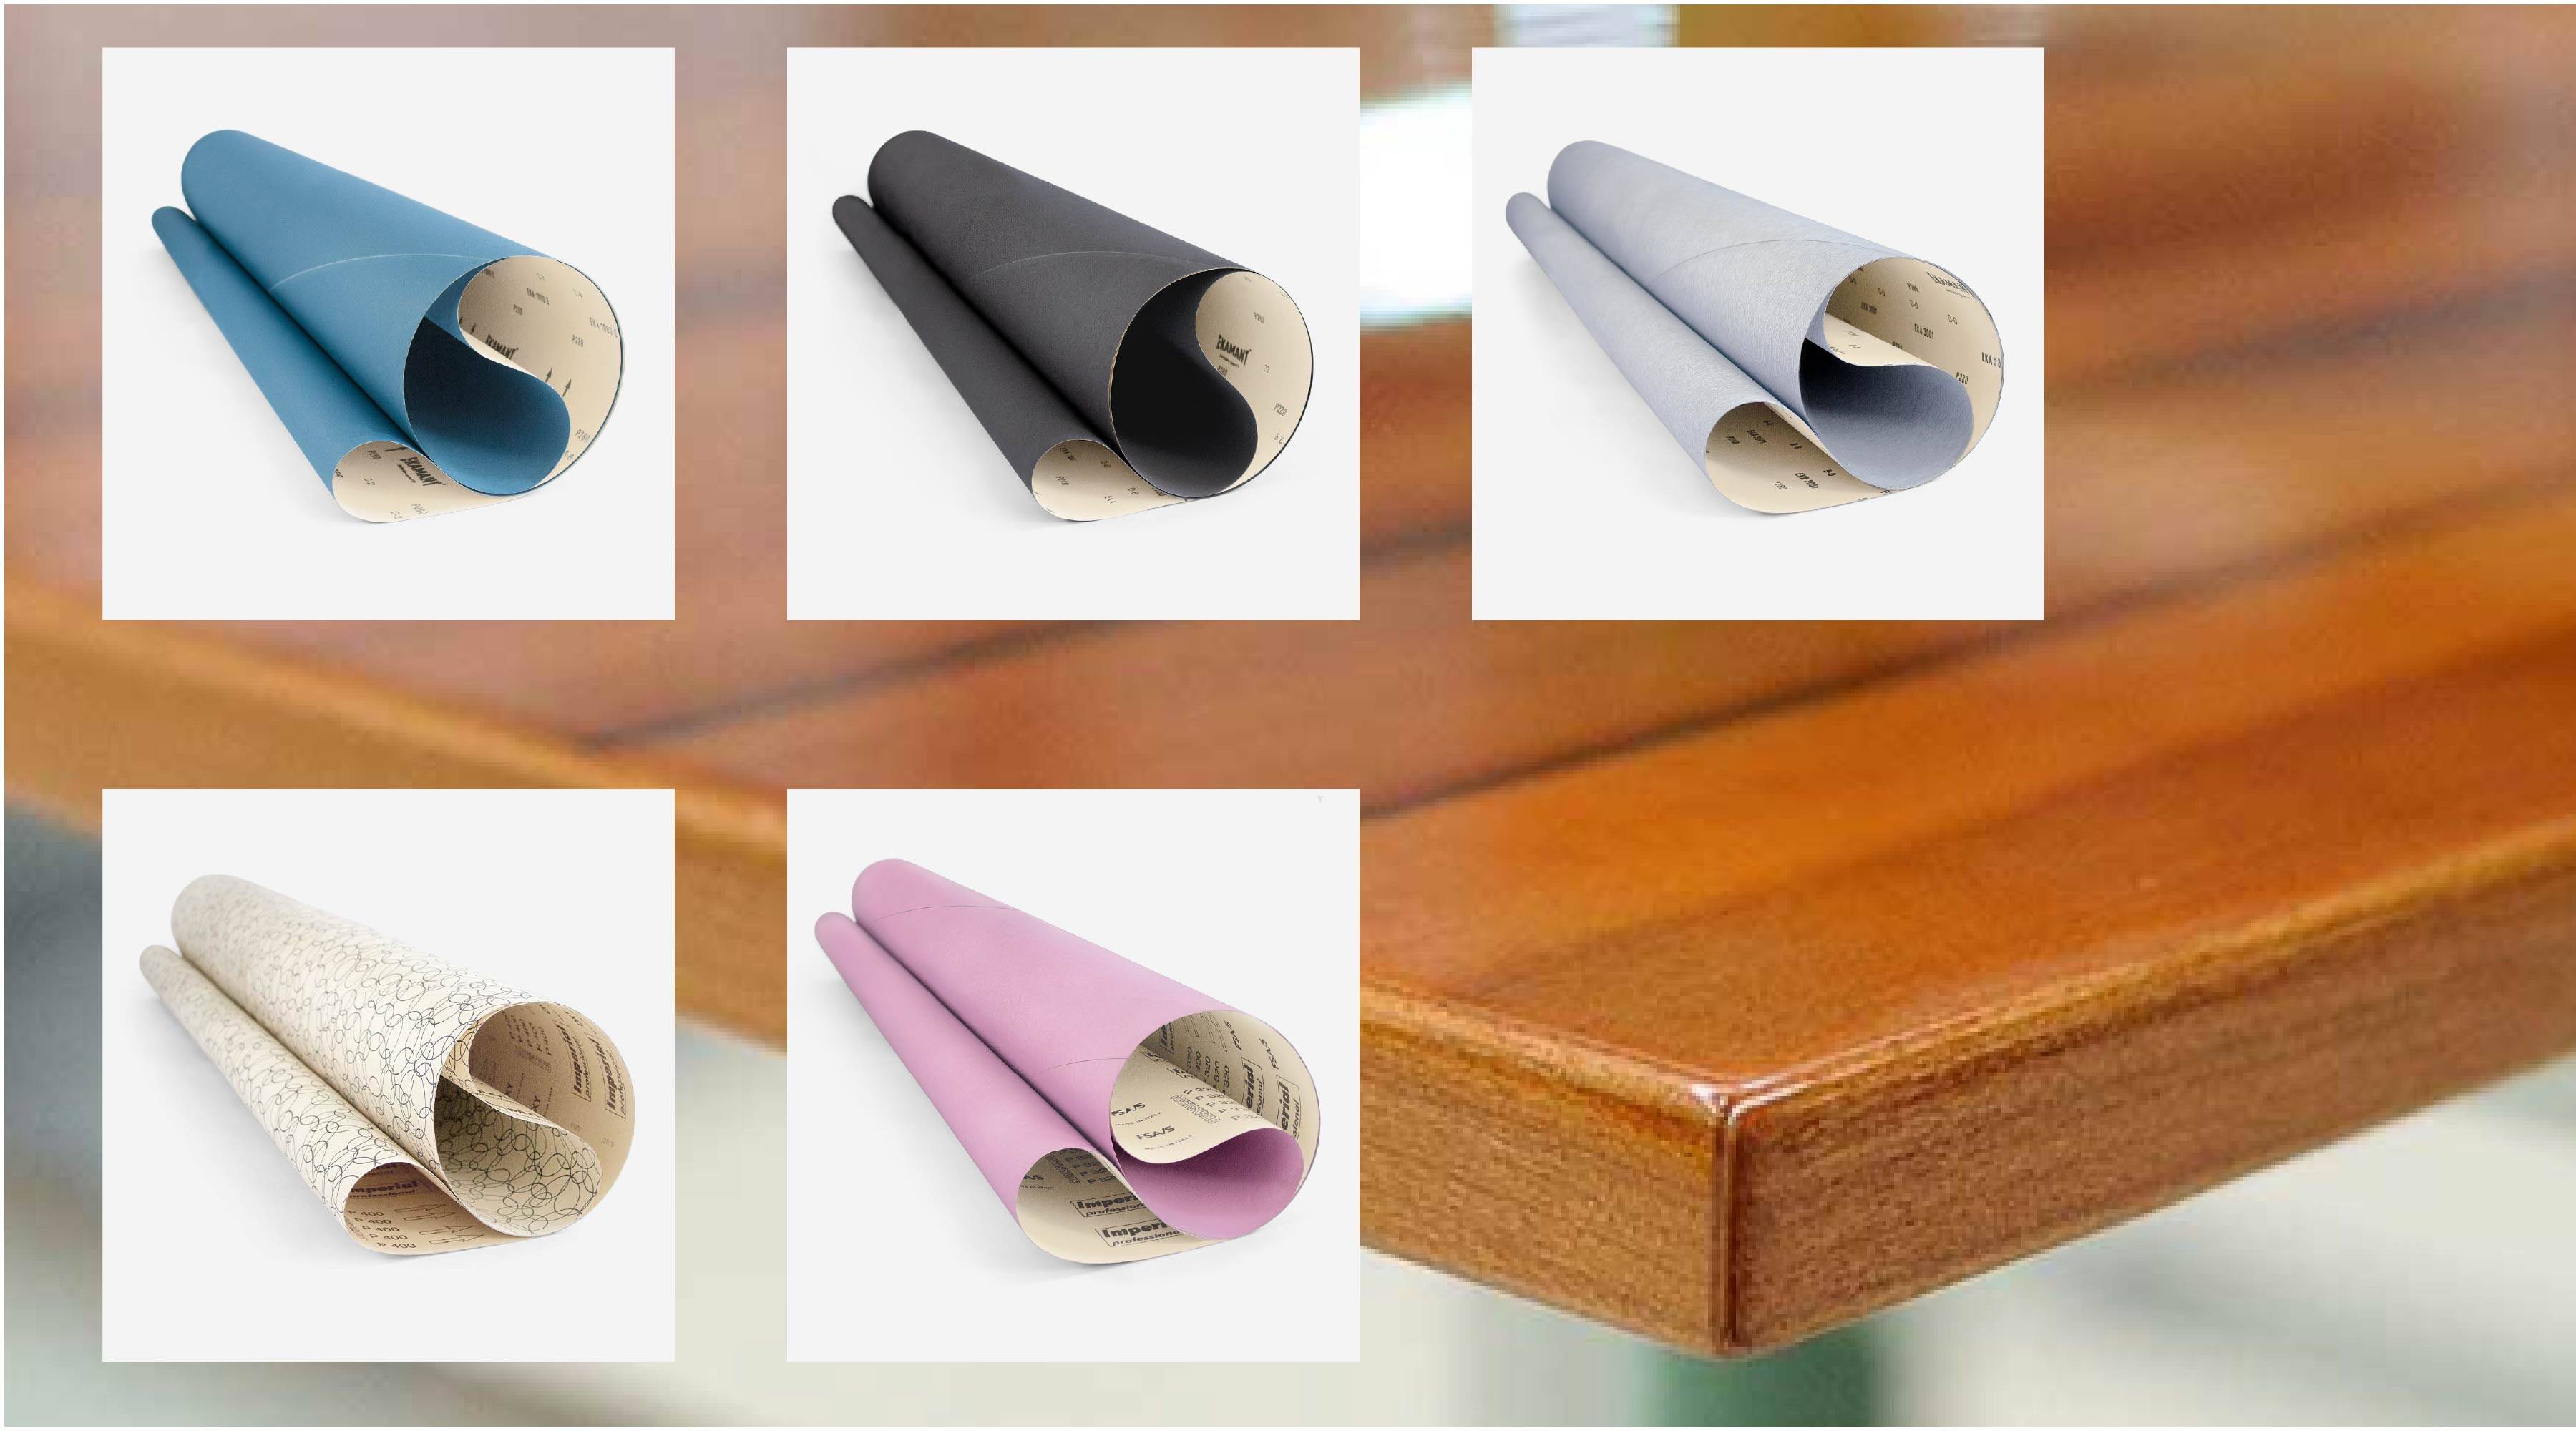
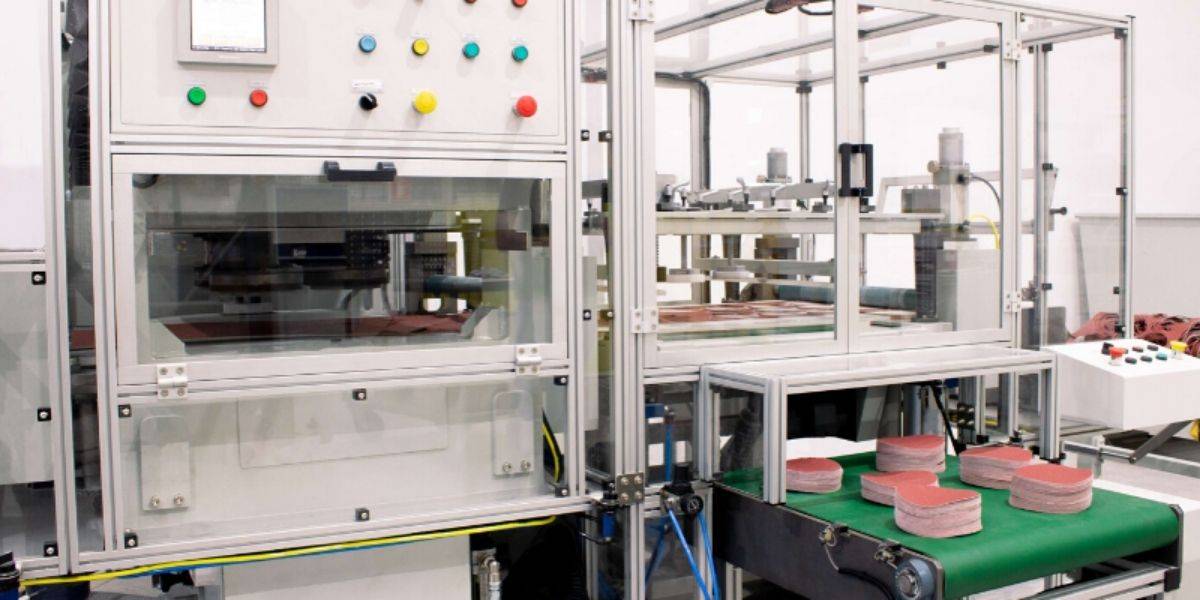
At Abracom we have an extensive range of abrasive discs, in multiple diameters and formats, as well as the necessary machinery for the treatment, sanding and finishing of solid surface surfaces. We are a comprehensive provider of abrasive solutions for the main industries in the sector in Spain. Contact us, we can surely help you.




 (1).png)
 (1).png)
.png)
.png)
.png)
.png)
.png)
.png)
.png)
.png)
.png)
.png)
.png)
.png)
.png)
.png)
.png)
.png)


