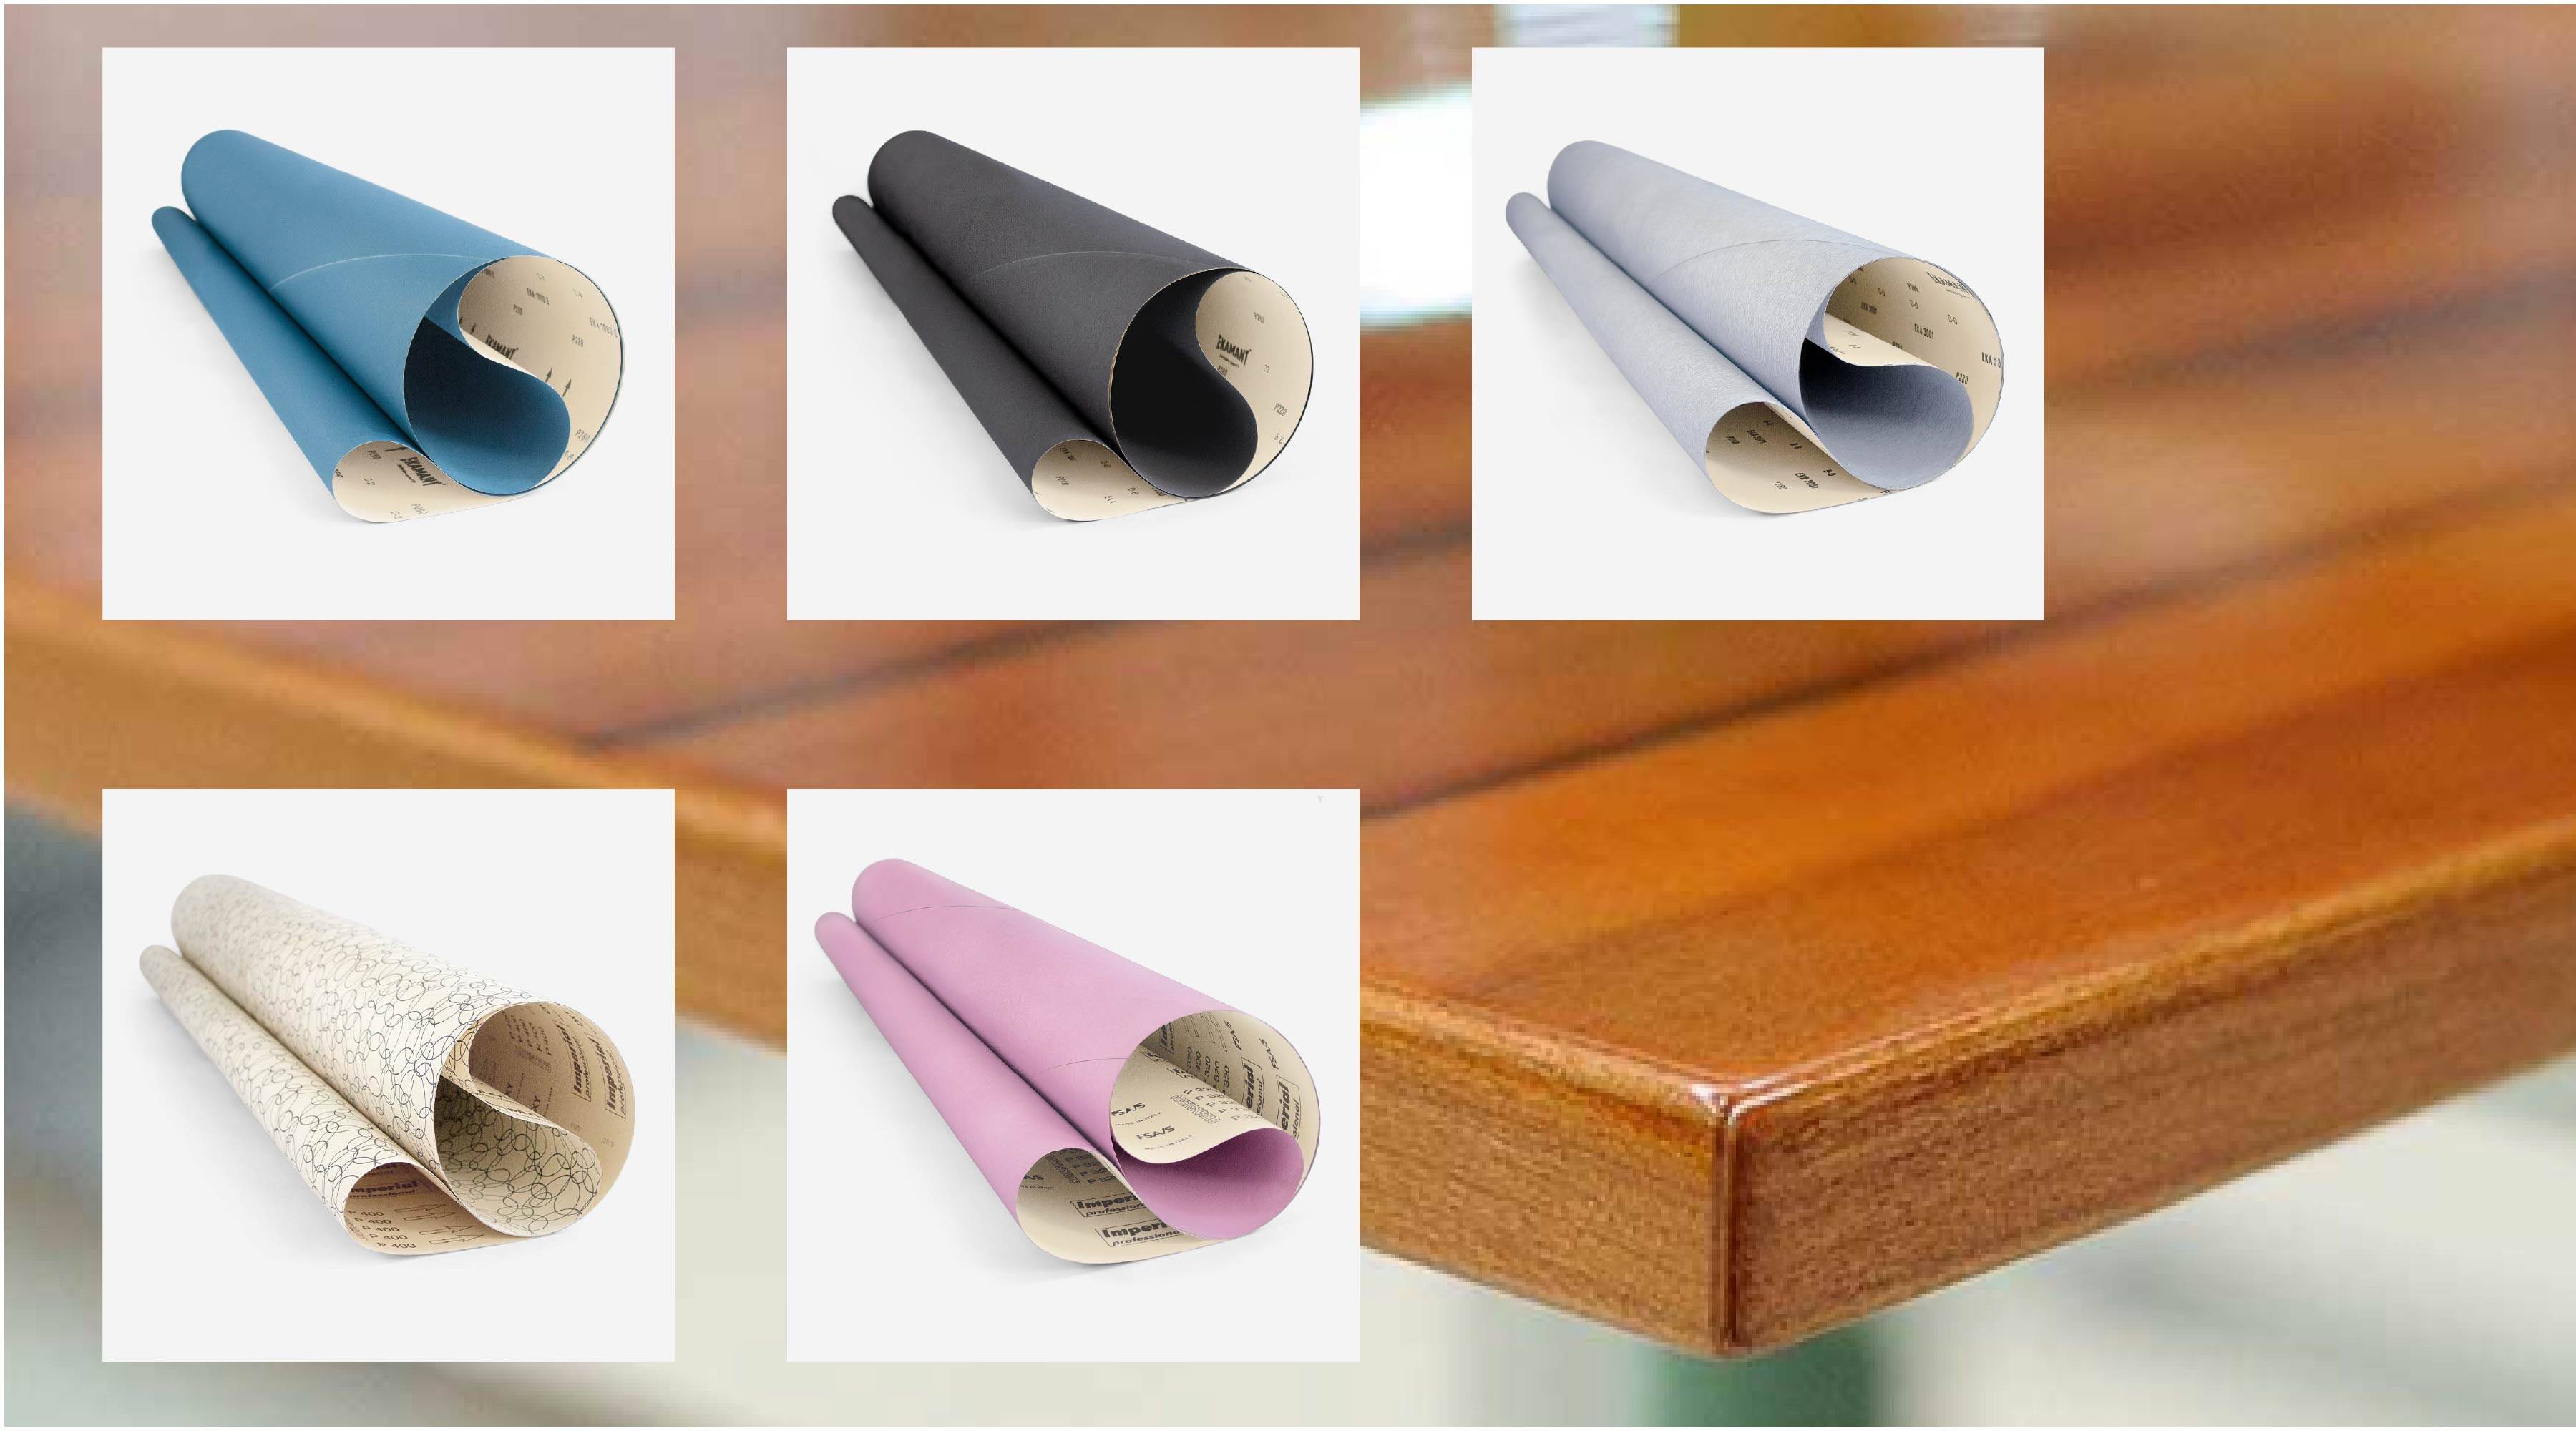
El lijado de superficies planas barnizadas es una operación habitual en la industria de la madera, los tableros y la...
}Sanding can also be used to recover a surface to its original state, or to eliminate scratches and scratches, among other possible applications. The polishing tools that should be used in each case depend on what surface we are going to work on and the precision we require.
Technical advances have made certain solutions that are able to help us make this sanding work faster and safer in recent years. Below we offer you information about the guidelines you should follow to perform this task and the polishing and sanding tools that you should know for it.
The polishing tools that should be used in each case depend on what surface we are going to work on and the precision we require.
What is surface polishing
The polishing of surfaces is a finishing operation, which consists in the realization of a series of stages or work steps that combine abrasive actions and polishing actions to achieve a bright, uniform, smooth surface free of defects visible to the naked eye.
You may be interested: How to polish glass: tips and best products
What is sanding and polishing for?
Sanding and polishing will allow us to eliminate small scratches, scratches, orange peel, contaminating particles, and any small damage caused by rubbing or abrasion.
In this way, the sanding and polishing process prevents the treated surfaces from having to be repainted to show off a perfect finish:
Improve the aesthetics of surfaces
They recover their initial state
Eliminate the matt areas
They finally recover their brightness
At present, most of the polishing works are very diverse mechanical processes, which are carried out on multiple materials: varnish or lacquer, metal, glass, wood, plastic ..., and in different types of industry: from headlight polishing , taps, fittings, glass, metal components, tires, to the polishing of ships, aircraft and cars.
Tools for polishing and finishing
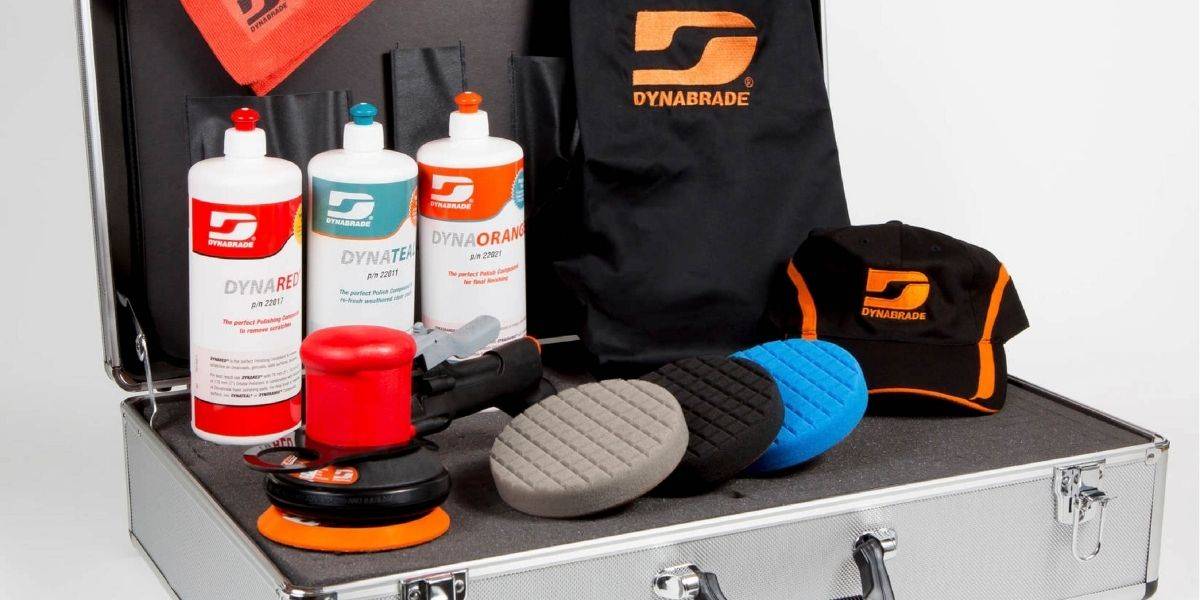
Although the technique and industrial polishing work are specific to each activity or industry, in general, they all combine the use of microabrasives, abrasive compounds or pastes for roughing, polishing and protecting, wool berets and sponges for application , and portable hand tools to perform the work.
In general, polishing work consists of the following steps:
Phase 1: Roughing
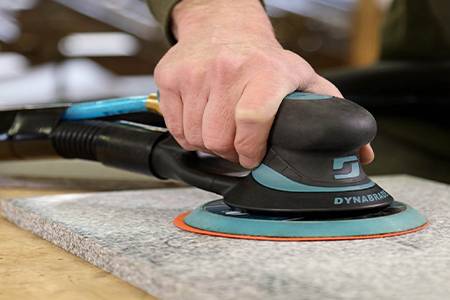
It is about roughing the surface to eliminate the defects of the last layer of lacquer applied. This process can be carried out selectively, with a mini roto-orbital sander, or generally over the entire surface of the part, with the help of a roto-orbital sander.
To grind small areas, abrasive stars of 32 mm diameter and grains 1500, 2000 or 3000 are usually used. On the contrary, if the surface to be treated is larger, an abrasive disk of 150 mm diameter and 1200 or 1500 grain is used.
Phase 2: Polishing
Once the roughing is done, and with the help of a polisher, the affected area is brushed up with quick-cut abrasive paste.
The purpose of this action is to eliminate the scratches generated by the 1500, 2000 or 3000 grain microabrasives.
The treated surface, unlike the rest of the piece, has a nuanced appearance due to the removal generated by the cutting compound that contains abrasive particles in its composition.
To spread the abrasive paste, wool berets or polishing sponges of different hardnesses are usually used. Next, we will clean the surface with a microfiber dishcloth.
Phase 3: Brightening
This step is intended to recover the brightness of the nuanced surface and give uniformity to the finish of the entire piece.
With the help of a polisher and a polishing sponge we will apply the polishing compound, then proceed to clean the surface with a microfiber dishcloth.
Phase 4: Protection
Similarly to the previous step, we can protect the final finish by applying a coat of protective wax that will make the final luster more durable.
.jpg)
Tips to consider during polishing and finishing:
During roughing
Use roto-orbital sanders with small orbits of 2.5 or 3 mm. In this way the dreaded “snail marks” will be less visible and easier to remove is the subsequent steps.
If we want a little aggressive roughing it is convenient to spray drops of water on the surface we are sanding. In this way the presence of water acts as a refrigerant generating less deep streaks.
Avoid performing roughing work with the perimeter of the disc. Support it completely horizontally on the work surface.
Use abrasive discs with polyester film support instead of conventional discs with paper support. Film discs generate less roughness and more uniform than paper.
During polishing
Carry out the polishing operation with fast-cutting pastes, avoiding overheating the surface to avoid removing or veiling the finishing material.
Wool berets, despite their soft-touch appearance, are more aggressive than polishing sponges. This is because wool fibers allow a greater amount of cutting compound to be retained. If the use of wool berets is very aggressive, you can choose to use medium-high hardness polishing sponges.
Ensure that the abrasive compound to be used is in perfect condition: neither too liquid nor too hardened or dried. Bad storage conditions deteriorate these compounds.
Use polishers as far as possible with antihologram movements and with a speed regulator. It is recommended to select a low working speed, around 900 rpm.
During brightening
With the help of a microfiber dishcloth clean the surface before performing the polishing process, to remove the remains of abrasive paste from roughing the previous step.
For the application of the polishing paste use a new polishing sponge, different from the one previously used. In case you are obliged to have to use it, proceed before a thorough washing with clean water.
Perform polishing work in the range of 1,100-1,200 rpm.
Before performing each step, the surface must be cleaned thoroughly. For this we will use microfiber dishcloths that do not scratch the surface (use a different dishcloth at each stage). The use of conventional cleaning dishcloths is not recommended.
To know more: Wood treatment tips: sanding, varnishing and polishing
 (1).jpg)
Safety recommendations for surface polishing
When tools are used to polish surfaces, certain safety precautions must be taken:
First of all, it is advisable to work on safe surfaces, even better if you have a workbench.
Professional gloves and protective goggles should always be worn, to avoid that the parts that come off the surfaces when polished can damage the eyes.
For the same reason it is advisable to use aprons or work overalls to protect against splashes of abrasive pastes that are projected.
Polishing tools are safe, but must be kept in good condition for proper operation and away from exposure to water.
Once the work is finished, clean the tools to prevent the remains of pasted pastes from compacting and can generate some kind of defect or problem.
You want to know more? Check out this post: Why choose Norton Abrasives products for your company
In addition, selecting a reliable supplier of the polishing and sanding machines that are to be acquired is essential to choose the right tools at all times, as well as the complementary products that can be used with each of them, which will help us achieve the desired finish and meet the highest quality standards.
At Abracom we are experts in abrasives for the industry, and we have extensive experience working with leading brands and customers from all sectors. Therefore, if you have any questions about which tools for sanding and polishing you should choose, do not hesitate to contact us. We will advise you.


.jpg)


